
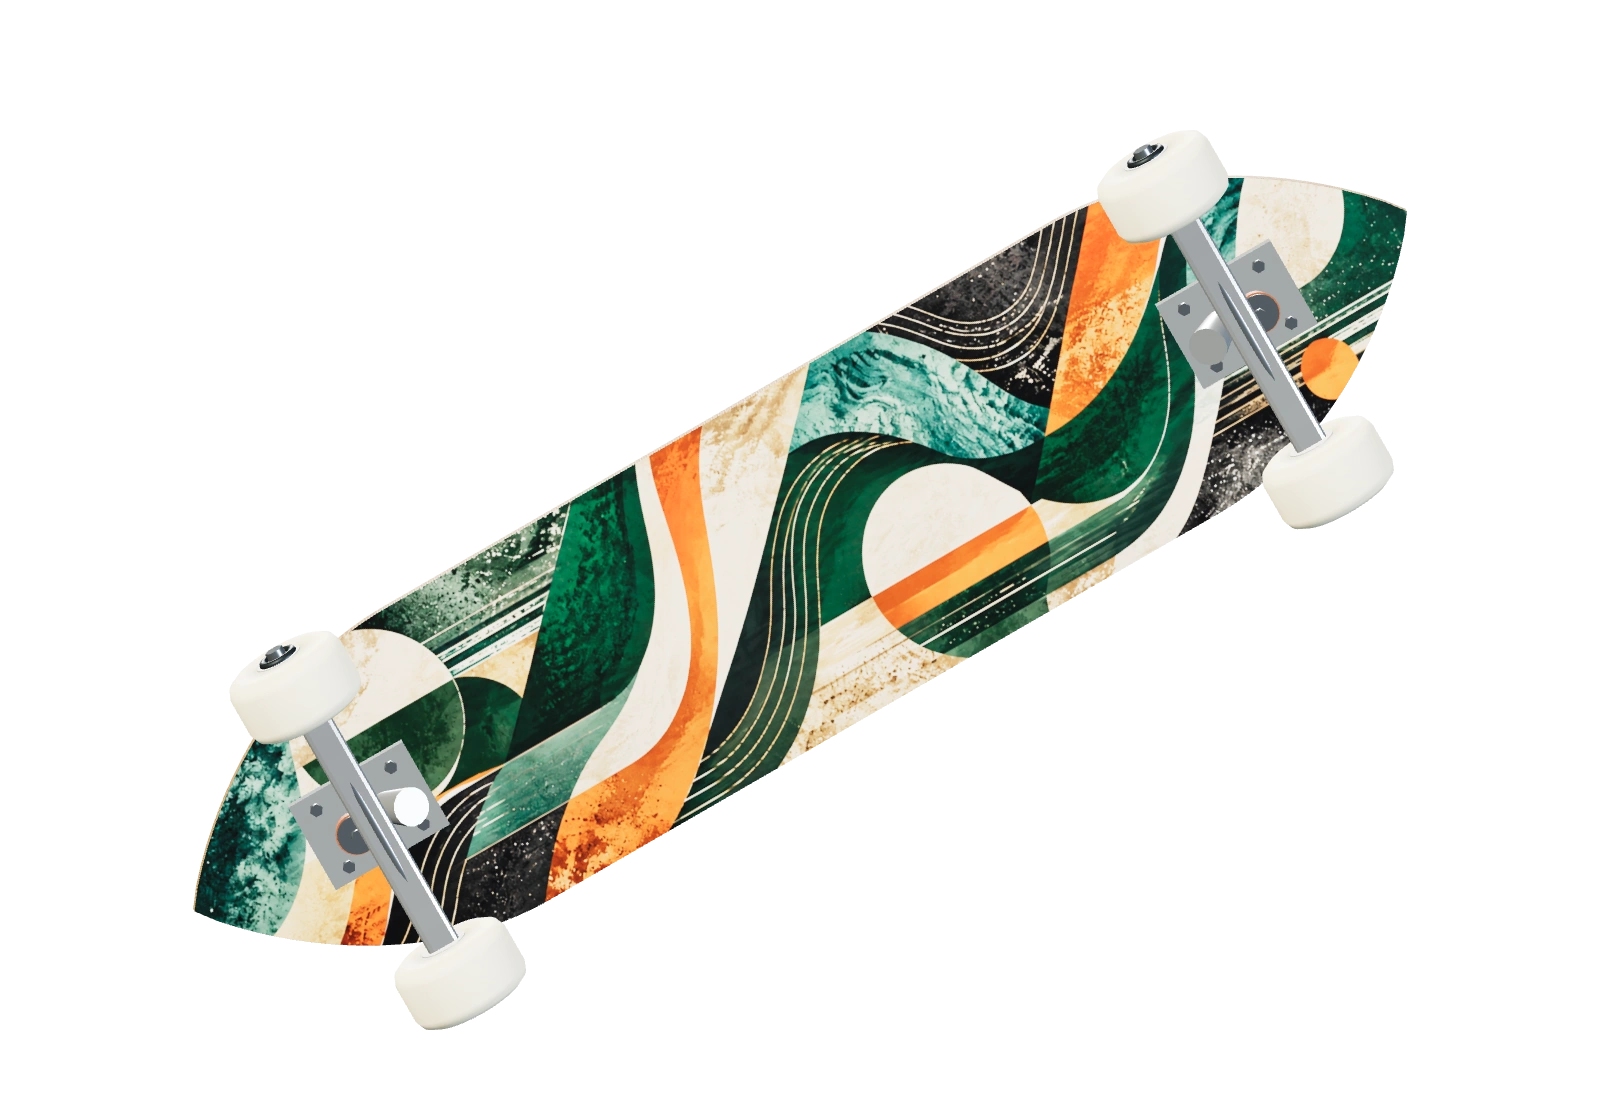
 Retro Geometric Texture
Skateboard Design
Browse free skateboard design ideas, or start from a blank deck and make the artwork your own. Choose a street, cruiser, or longboard shape, draw with brushes, text, shapes, and images, then preview every angle in live 3D before exporting a screen or print PNG.
Free to start · No sign-up required · Works in your browser
3D skateboard preview
3D preview: Street. Drag or use the arrow keys to view every side.
Try another board · Drag to rotate
Loading 3D skateboard…
Skateboard Design Ideas
Browse free skateboard design ideas, from bold street graphics to clean cruiser patterns and longboard illustration. Open any design to see it in 3D, then use it as a starting point or create your own skateboard design from a blank deck.
Retro Geometric Texture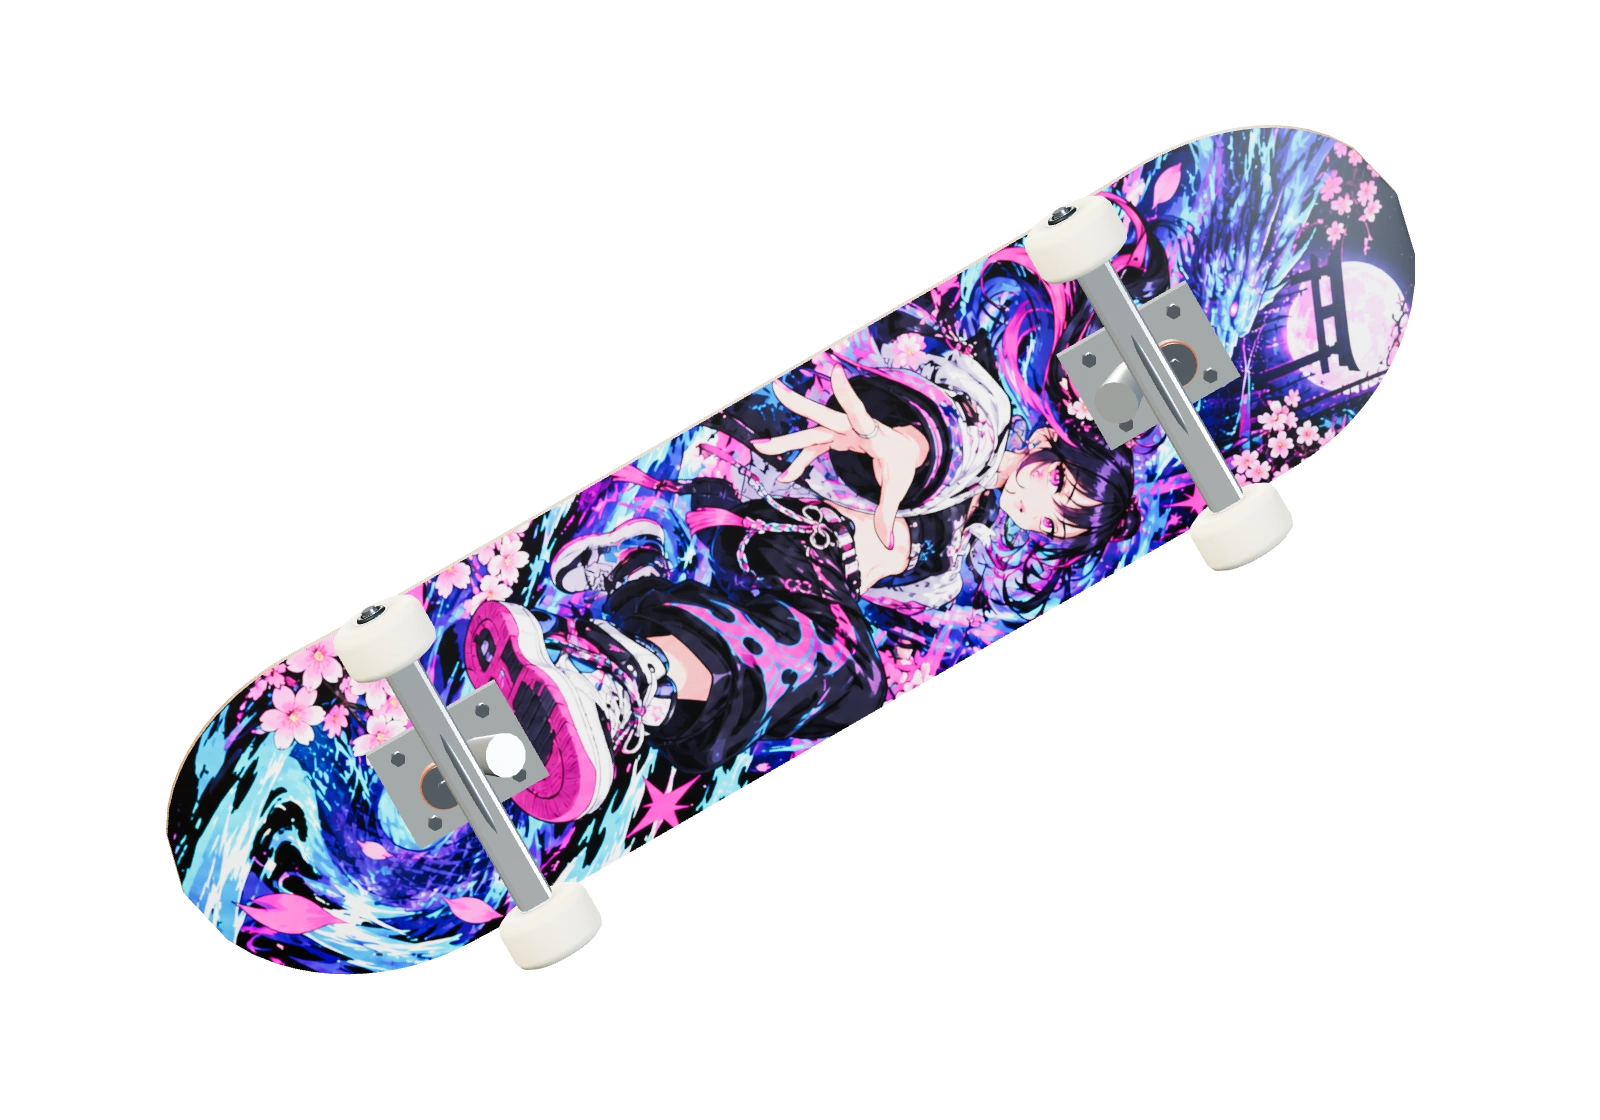 Neon Dragon-Cherry Blossoms
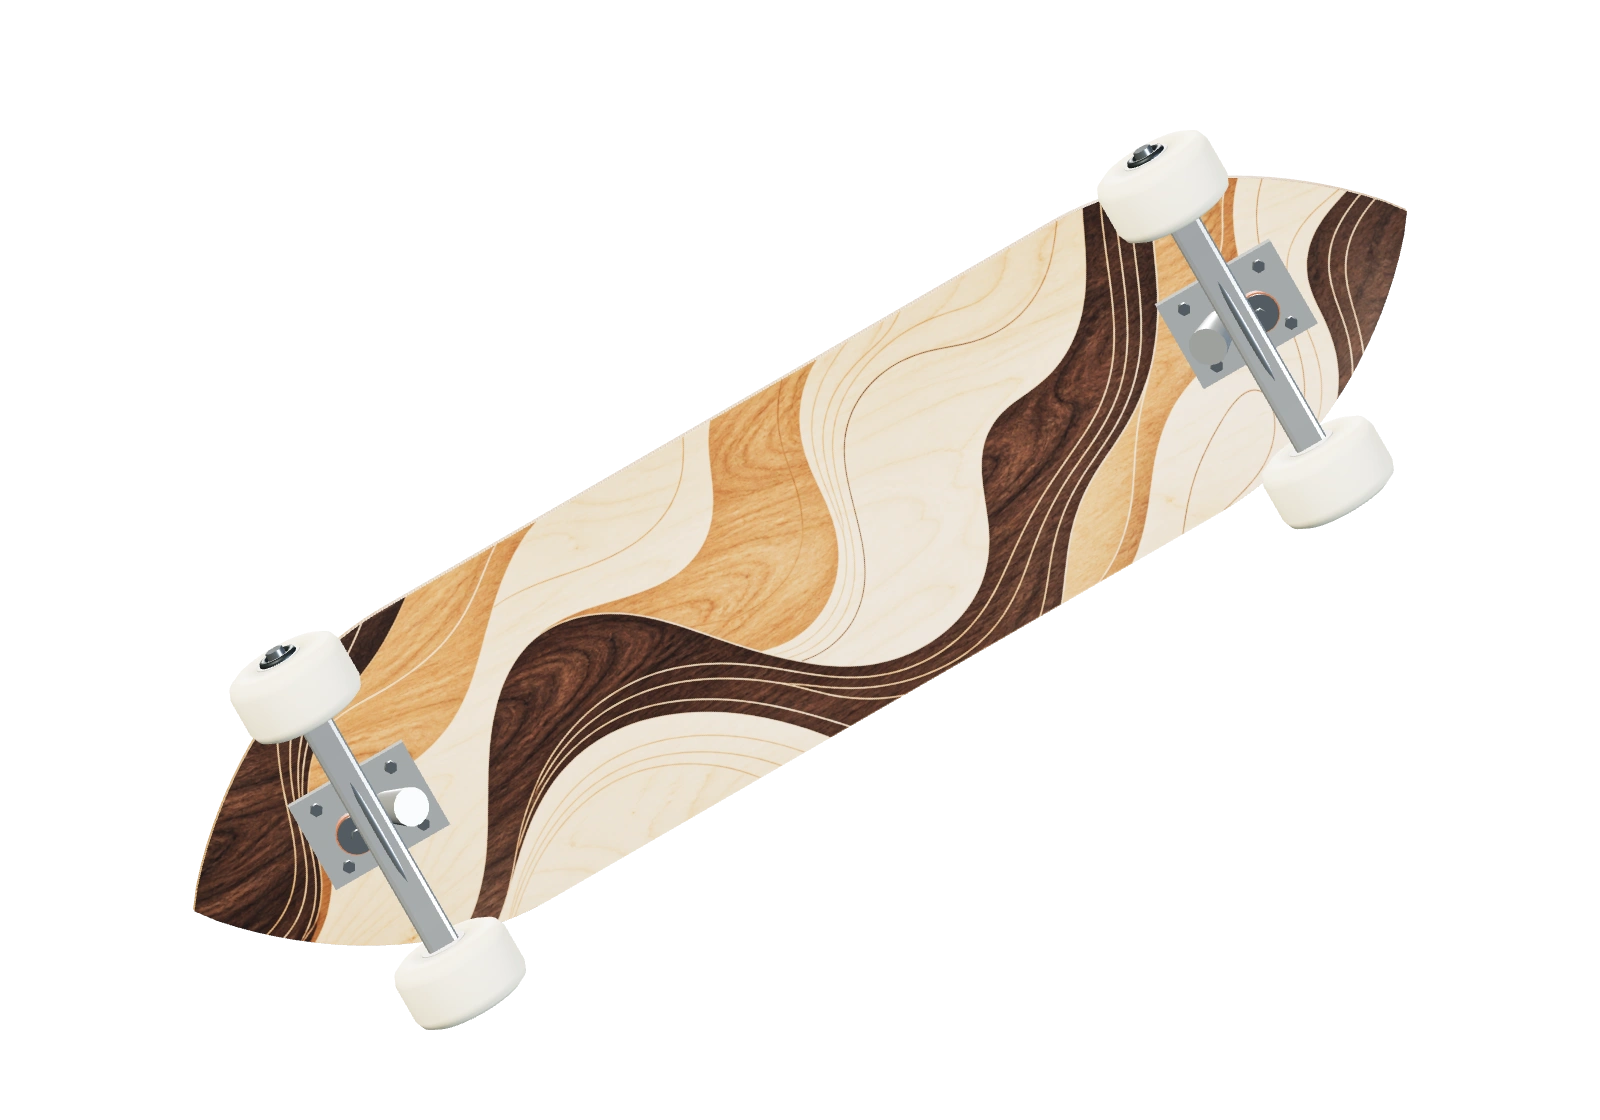 Wood-Like Terrain Texture
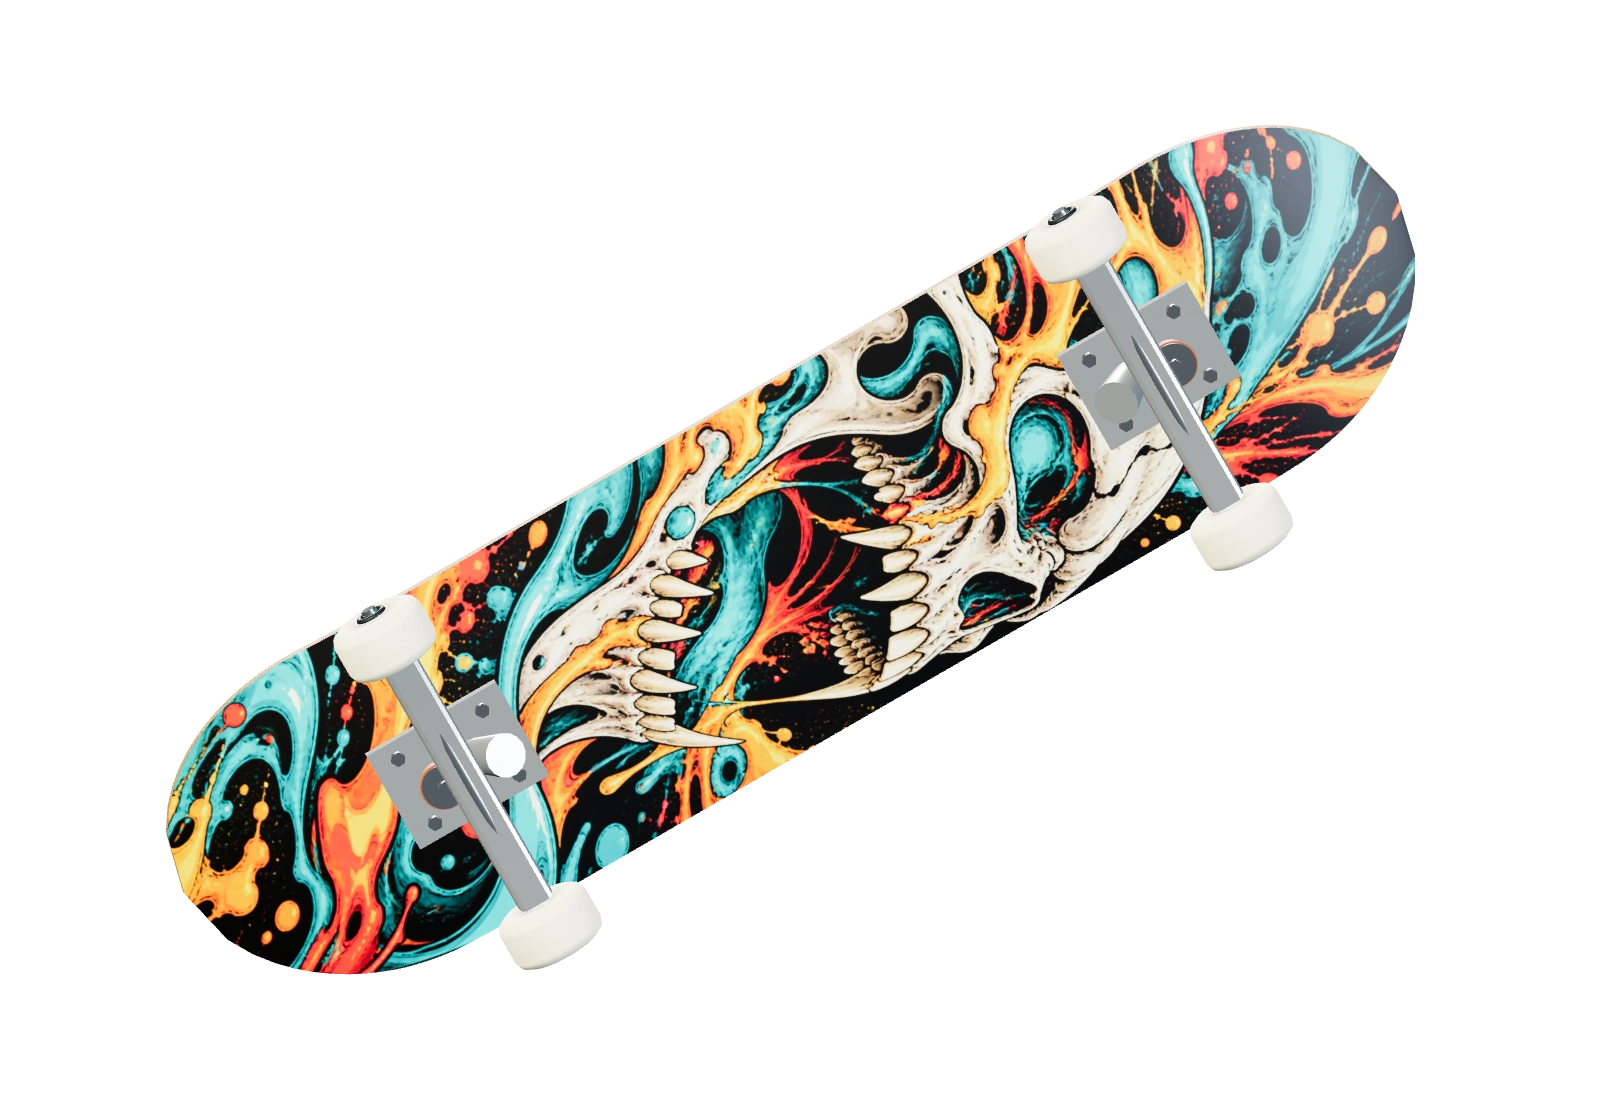 Neon Molten Skull
Choose Your Skateboard Deck
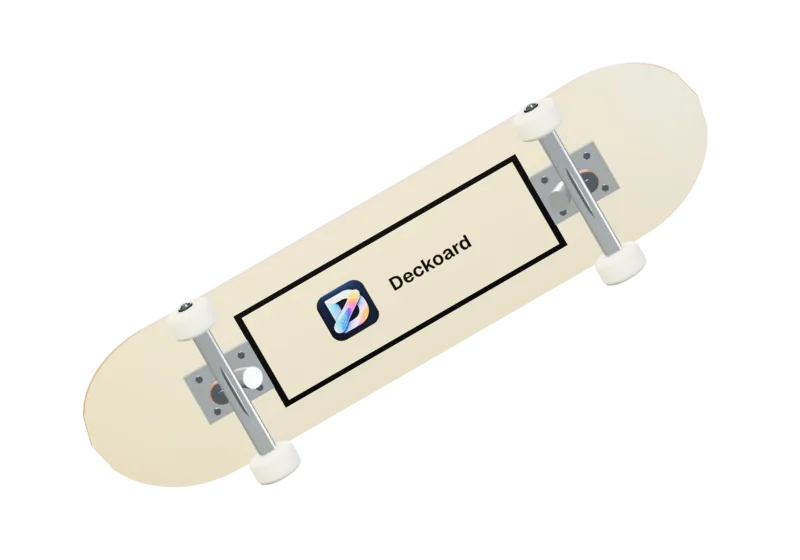
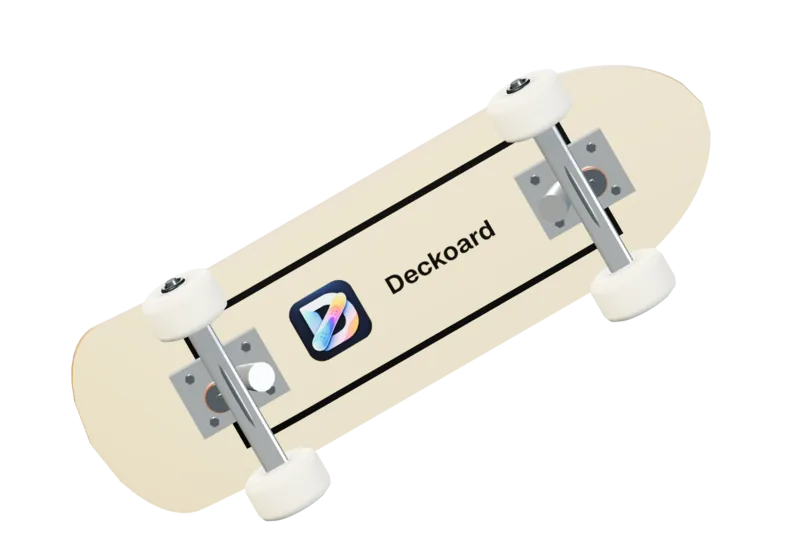
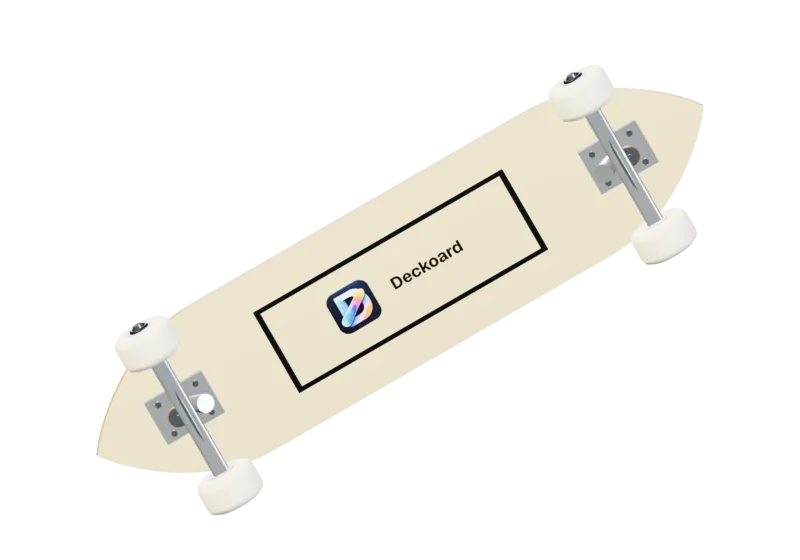
Street, cruiser, and longboard decks each have their own outline, truck spacing, and graphic proportions. Pick a shape to see the deck in 3D and choose from two size presets that drive the editor and export dimensions.
How to Design a Skateboard Deck
Three steps take a deck graphic from an empty canvas to a file you can share, print, or hand to a print shop.
Choose Your Deck
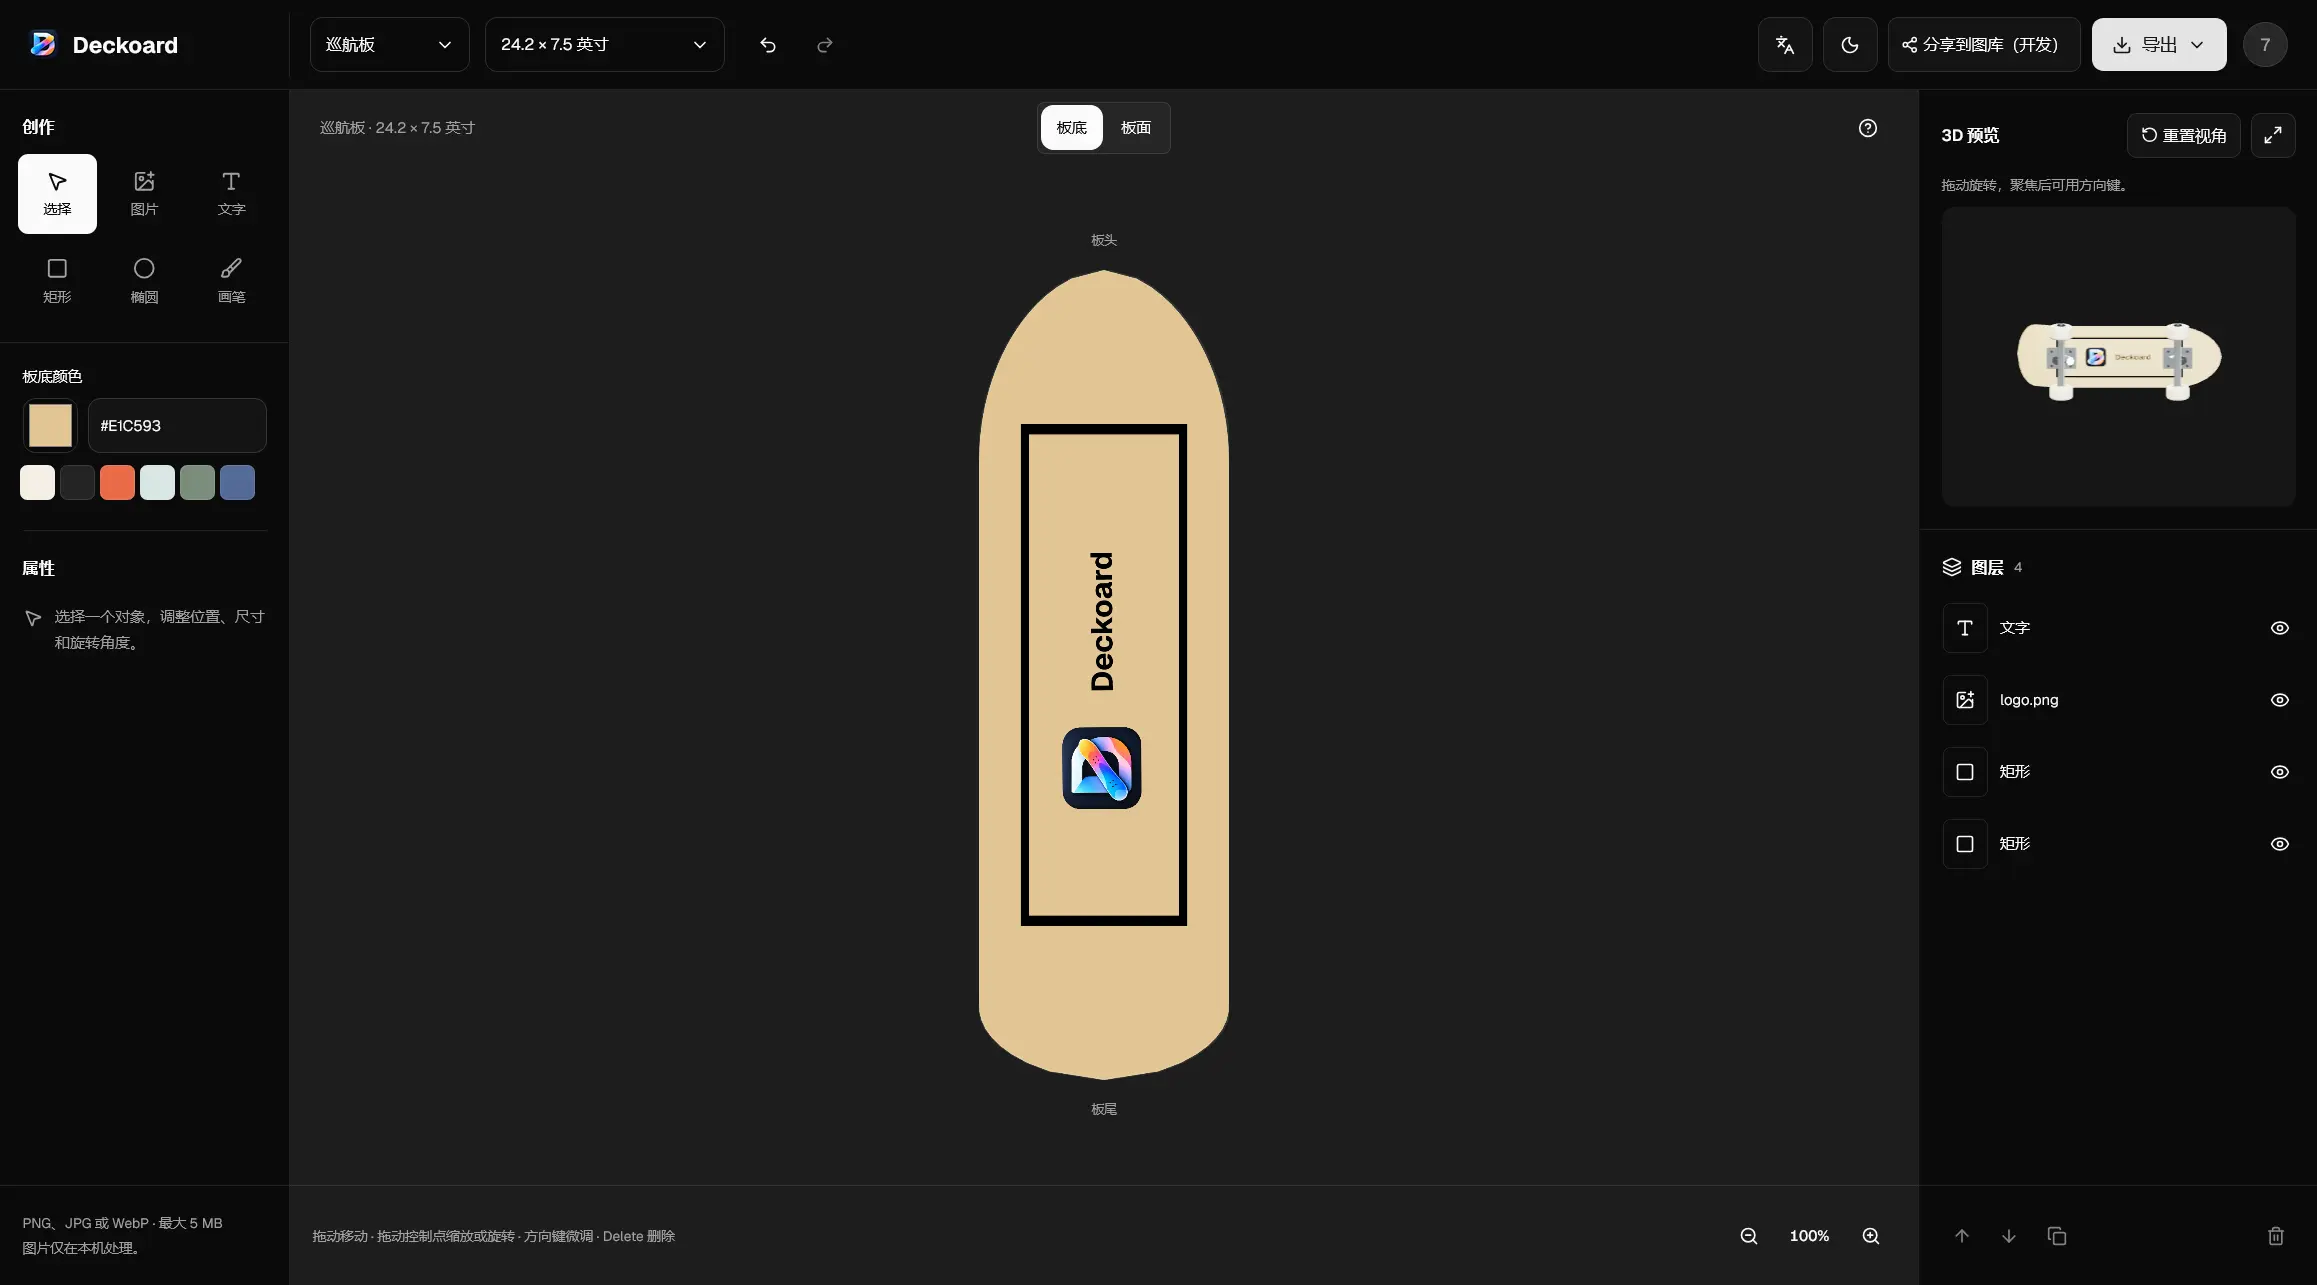
Start with a street, cruiser, or longboard deck, then choose one of its two length and width presets. The outline, truck spacing, wheel size, and export dimensions follow the deck you pick.
Design and Preview in 3D
Paint the underside and the grip side separately. Add brush strokes, text, rectangles, ellipses, or JPEG, PNG, and WebP images up to 5 MiB, then turn the board to inspect the design from every angle in real time.
Export Your Design
Export a screen PNG at 80 pixels per inch, or a print PNG at 300 ppi with a 0.25-inch bleed and an optional guide overlay. Confirm sRGB and the missing die-lines with your print shop before production.
Skateboard Design Basics
A practical look at deck proportions, graphic styles, and the files a print shop expects.
The deck as a canvas
A skateboard deck is not a flat rectangle. The nose and tail curve upward, truck bolts sit in fixed positions, and the underside is interrupted by wheel wells on some shapes. A strong deck design works with those interruptions instead of ignoring them: keep the focal point away from the bolt pattern, carry colour through the nose and tail, and check how the graphic bends around the concave. The editor previews the deck in 3D so you can see those relationships before you export. The grip side is a separate canvas, useful for a small mark, a repeat pattern, or a design that reads from above.
Matching the graphic to the deck
Street, cruiser, and longboard decks give you different canvases. A street deck is compact, so a simple mark, a bold shape, or a two-colour illustration usually reads better than a detailed scene. A cruiser has a wider outline with more room around the trucks, which suits looser shapes and repeating patterns. A longboard offers the longest uninterrupted area, so gradients, landscape scenes, and type that runs from nose to tail have space to breathe. Each type carries two size presets, and switching the preset changes the outline and the export dimensions.
Graphic styles that hold up
Most deck graphics fall into a few useful families: geometric patterns, typographic layouts, illustration, photo collage, and texture-led designs. Geometric and typographic work survives small print sizes and busy backgrounds because the shapes stay legible. Illustration gives you a focal image but needs enough contrast against the deck's base colour. Photo collages can look rich in a 3D preview, yet small details may disappear at print size. Texture-led designs are forgiving, but check that the pattern does not create banding or moiré when scaled. Pick one family as the main idea and let the others support it.
From screen to print
Screen and print are different outputs. The screen PNG is drawn at 80 pixels per inch of deck and is sized for sharing, mockups, and quick review. The print PNG uses the deck's production template at 300 ppi with a 0.25-inch bleed by default, and it can include a guide overlay and a transparent background. Both are sRGB PNG files. There are no die-lines and no CMYK conversion, so send the file to your print shop early and confirm its template, colour profile, and material before the final run. Keep the browser tab open until that check is done.
Finding a starting point
If you already have a direction, browse the gallery and adapt a finished layout, palette, or motif. If you need free skateboard design ideas, start from a blank deck and work in passes: block the main shape, add type or an image, then refine colour and contrast in 3D. Export only when the design reads clearly from the angles you care about. A deck graphic does not need to fill every inch; negative space often makes the artwork stronger.
Frequently Asked Questions
What the editor does, what the exports contain, and what stays out of scope.
It means the artwork on the deck's surfaces: colour, images, type, and shapes on the underside, the grip side, or both. Deck construction, concave, and mechanical performance are outside the product. Every preview uses an existing deck model rather than a CAD model you author, so the work stays on the graphic that a rider sees and a print shop reproduces.
Street, cruiser, and longboard decks, each with two length and width presets. The outline, truck spacing, wheel size, and export dimensions follow the preset you pick. The editor does not author custom outlines, so choose the closest shape and size for your project and keep the artwork inside the deck's edges.
No account and no design software. The editor opens in the browser on the deck you selected. You can draw with a brush, place rectangles, ellipses, and text, import JPEG, PNG, or WebP images up to 5 MiB, and keep the underside and grip-side artwork separate. Work is local to the page, so export anything you want to keep.
A screen PNG and a print PNG. Screen exports are drawn at 80 pixels per inch of deck. Print exports use the deck's production template, 300 ppi with a 0.25-inch bleed by default, and can include a transparent background and a guide overlay. Files are sRGB PNG without die-lines or CMYK; confirm the template, colour profile, and material with your print shop before production.
No. Designs live in the current page, and the page warns you before you leave. Refreshing, closing the tab, or navigating away loses the work. Export anything you want to keep; cloud saving and account libraries are not part of the product.
No. Deckoard designs surface graphics and exports files. It does not sell decks, print wraps, or fulfil orders. If you want a physical deck, take the exported PNG to a print shop or deck supplier and confirm their template, ink, and material requirements first.
Design Your Next Deck.
Open the studio, choose your deck shape, and turn an idea into a skateboard design you can preview in 3D and export for print.